
Vermicomposting
Worms are nature’s recyclers
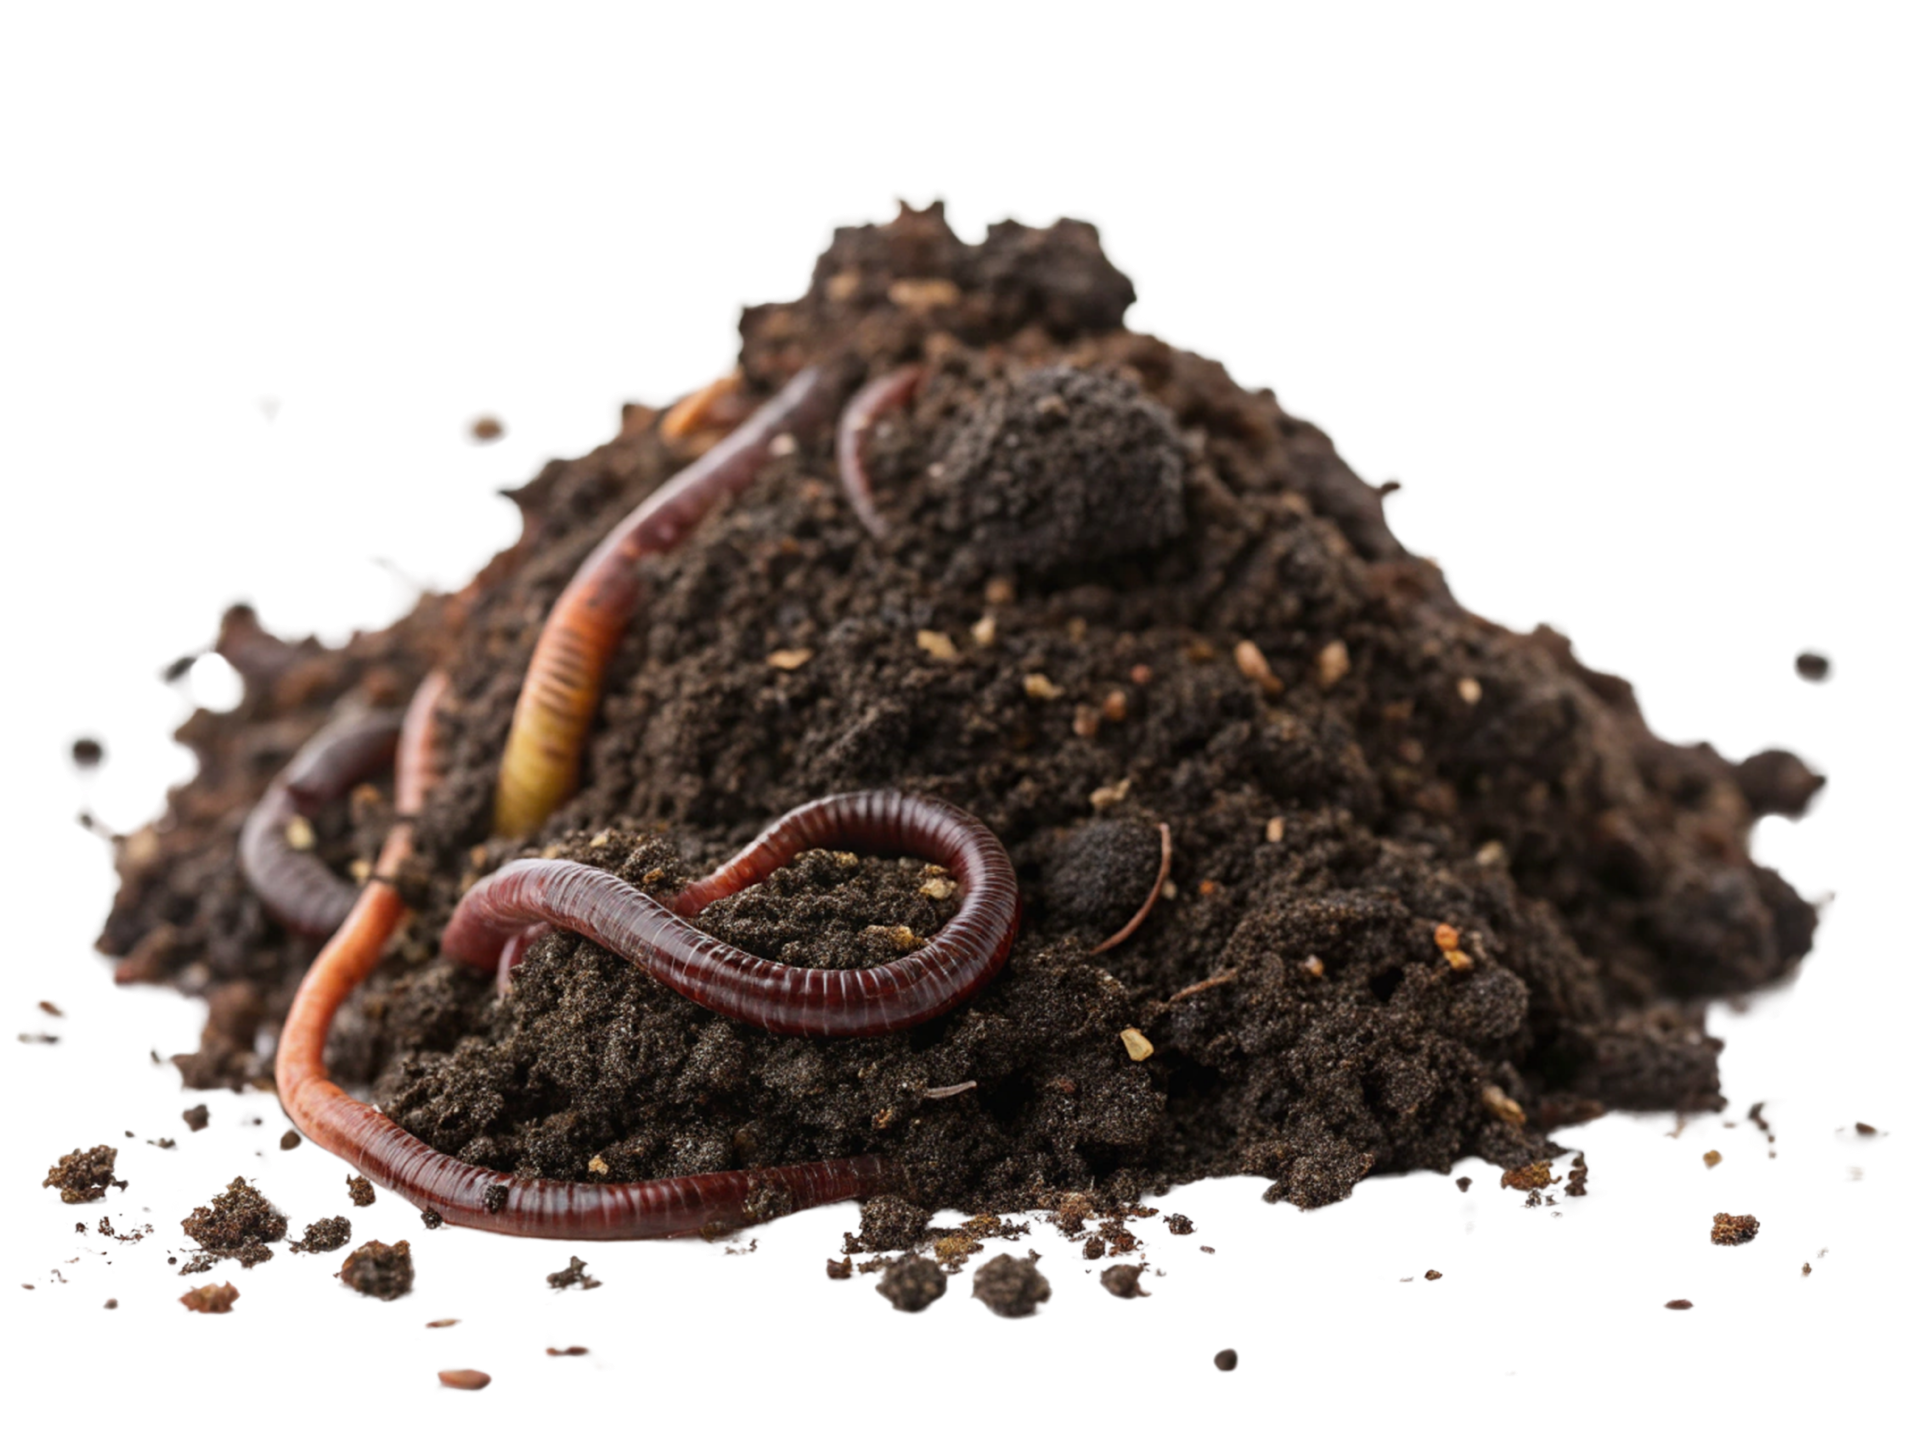
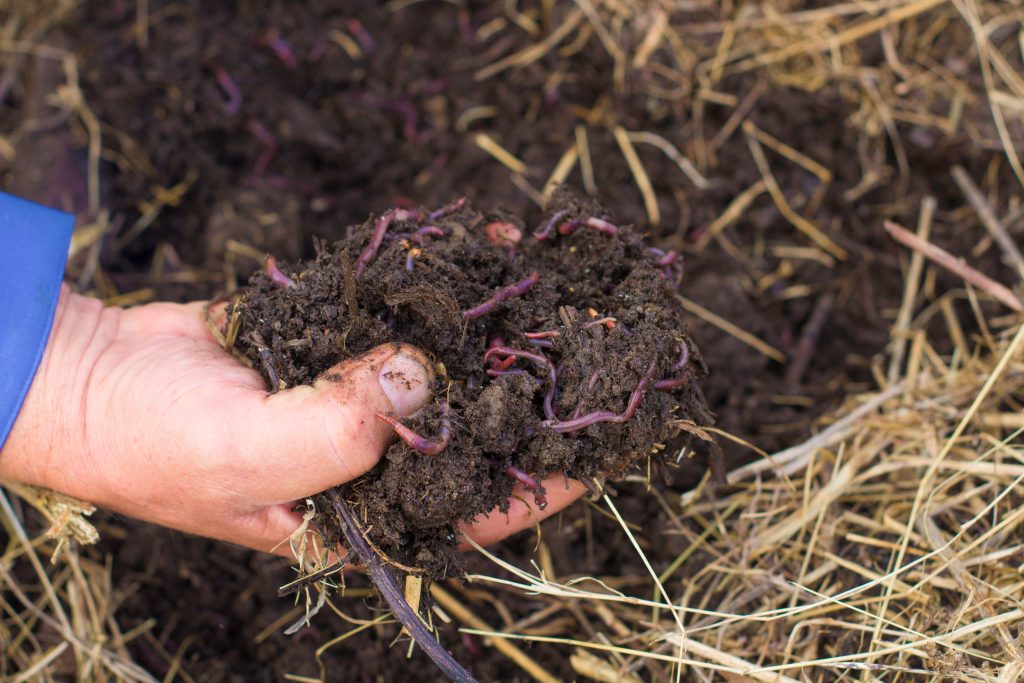
Worm composting or vermicomposting is typically done indoors in a closed bin populated with red wiggler worms. Inside the bin, worms eat organic waste and expel it as worm castings or droppings. The worm castings, together with other decomposed organic material, make up what is known as vermicompost – a nutrient-rich material great for your plants and garden.
Why Should I Vermicompost?
There are many reasons to start vermicomposting at home:
- Recycles your food waste into nutrient-rich compost.
- Allows you to convienently compost indoors, all year round.
- Allows you to compost while living in an apartment.
- Produces finished compost in less than 6 months.
- Engages your children and friends in composting.
How to Start Vermicomposting

1. Choose a Bin
The size of your bin depends on the number of worms you have and the amount of organic waste you produce. The bin should be deep enough to fully bury organic waste and have a large enough surface area to rotate the feeding location. A typical household vermicompost bin measures approximately 24″ x 16″ x 12″ and contains 1 pound of worms.
TIP: If you are producing more organic waste than your vermicompost bin can accommodate, increase the size of your bin or start a second bin.
Reuse, Build, or Buy
Reuse a bin you already have, purchase a plastic bin, or build a wooden bin. Whatever type of bin you choose, drill holes in the cover to allow for airflow.
Pick a Location
Locate your bin in a convenient and easy-to-access area in or near the kitchen. Worms prefer a constant room temperature (15-25 degrees Celsius is ideal), so it’s important to keep your bin away from drafts and heating sources.
TIP: Place a rug or piece of cardboard under your bin to insulate cold floors.

2. Make the Bedding
This is where the worms live. Many different materials can be used including shredded newspaper, paper, cardboard, dried grass clippings, chopped straw, dried leaves, and peat moss, but the following mixture is a good standard:
- Natural peat moss (about 1/2 of bedding)
- Shredded newspaper (about 1/2 of bedding)
- A dozen crushed eggshells
- Water
- Shred the newspaper into 1-3 inch pieces.
- Crush the eggshells. Eggshells make the acidic peat moss more neutral and provide the grit necessary for the worms to digest their food.
- Mix shredded paper with the peat moss. Make enough bedding to fill your bin 8-12 inches deep.
- Let water stand for 24 hours before adding it to the mixture to allow any chlorine to evaporate and for it to reach room temperature. Add water to the dry materials. Squeeze a handful of bedding to check the moisture. Little or no water should run out between your fingers, and the bedding should remain in a ball in your palm.

3. Add the Worms
You will need roughly one pound of red wigglers – about 1,000 worms. Gently add the worms to the top of the bedding, and watch as they make their way into the soil. Once your vermicompost bin is established, your worms will begin to reproduce. You won’t need to worry about overpopulation as worms adapt to the space and food that is available to them.
TIP: For the first 2-3 days after adding your worms, leave the cover off your bin and a bright light on overhead. Worms are sensitive to the light and will move into the dark bedding.
Next, replace the cover, but leave the light on for another 2-3 days. If you notice a worm or two crawling up the sides or cover of the bin, gently put them back into the bedding. Once the worms have settled into the bedding, you can keep the cover on and the light off.
Where to Find Red Wiggler Worms
There are two easy ways to obtain a supply of red wiggler worms – (1) buy them from a worm farm or (2) get them from a friend with an established vermicompost bin. Trouter’s Special Worm Farm in Bay Bulls sells red wiggler worms by the pound, as well as complete vermicomposting starter kits – including a bin, a bag of bedding, and a pound of worms.
Maintaining Your Vermicompost Bin
Vermicompost systems require little maintenance. In fact, the less the worms are disturbed, the more productive they are. You can also leave them for up to a month at a time.
TIP: Before going on vacation, feed your worms and (if house temperature will drop below 15 degrees Celsius) insulate the bin by placing a rug underneath and moving it away from exterior walls.
Feeding Your Vermicompost Bin
Worms eat the organic material you add to the bin, including their bedding. Use a covered container in your kitchen to collect organic waste, such as a 750g yogurt container. Food waste that is chopped up and left for several days will decompose faster.
FACT: A red wiggler worm can consume up to its own weight in organic material every day!
Add the same types of organic waste you would add to a backyard compost bin. Organic waste is anything that was once alive and growing – like a red pepper, a banana, or tea leaf.
Worm Food
- Fruit & vegetable peels & scraps
- Crushed eggshells
- Coffee grounds & filters
- Tea bags & tea leaves
- Plant trimmings
- Stale bread
- Leftover pasta
- Shredded egg cartons & boxboard
- Shredded toilet paper & paper towel rolls
- Shredded paper & paper napkins
Avoid
- Meat, fish, & bones
- Fat, grease, oils, & sauces
- Dairy products
- Salt & vinegar
- Pet waste
- Diseased plants
How to Feed Your Worms
- Use your hand or gardening fork to pull back the bedding and create a hole big enough to contain the waste. Avoid using a trowel or shovel as that may harm the worms.
- Add organic waste to the hole, and cover the waste with at least two inches of bedding.
- Mark the feeding location with a plant marker or popsicle stick, so you know where to add the next feeding.
- Place the next feeding adjacent to the last feeding, so the worms find it easily. If you picture the top of your bin as a grid, you want to vary the feeding from one square to the next until you make your way around the entire bin.
TIP: Only add organic waste when the previous feeding is consumed to avoid overloading your bin.
There are a number of factors affecting how often you feed your worms, which can vary from 1-3 times per week:
- The amount of worms in your bin
- The amount and type of organic waste you add
- How well the food is chopped prior to being added to the bin
Using Your Finished Compost
Your vermicompost will be ready to harvest in as little as 3-6 months. Your vermicompost is ready when it is dark and crumbly, and none of the original bedding or food scraps are visible. You will also notice the volume of the bedding has reduced. Harvest your vermicompost on a regular basis. If left too long, finished compost can become toxic to the worms.
This method is the most labour intensive, but it allows you to keep as many worms and worm cocoons in your vermicompost bin as possible. The whole process should take 2-3 hours.
- Under a bright light, empty the bin onto a large plastic sheet, such as a tablecloth or flattened garbage bag.
- Divide the vermicompost into eight piles, and form each pile into a pyramid shape. Let the pyramids sit for 15 minutes, allowing the worms to move naturally away from the light and down into the pyramids.
TIP: While you wait for the worms to move, mix up a fresh batch of bedding, and add it to the empty bin. - Starting with the first pyramid, use your hands to scrape a layer of vermicompost from the bottom edges, sides, and top of the pyramid. Place the collected vermicompost in a separate container.
- Continue scraping vermicompost from the first pyramid (removing worms and placing them in the fresh bedding as you go) until you begin to see a large number of worms. Reshape the pile into a pyramid, and move on to the next.
TIP: Despite your best efforts, it is okay for some worms and worm cocoons to be harvested with the finished vermicompost. - Continue this process until you have harvested and reformed each pyramid. When you return to the first pyramid, the worms will have moved closer to the bottom, and you can begin scraping compost from the sides and top of the pyramids again.
- Continue working on each pyramid (3-5 times per pyramid) until you are left with eight small piles of mostly worms and a small amount of the original vermicompost. Place the worms and remaining vermicompost in the bin with the fresh bedding.
- Store the harvested vermicompost in a cool, dark place until you are ready to use it.
This method is simpler than the first, but you will retain fewer worms and worm cocoons in your bin. Thankfully, the worms in the bin will continue to reproduce, and the harvested worms and cocoons will be beneficial to the soil when you use the finished vermicompost.
- In a separate container, mix up a fresh batch of moistened bedding.
- Push the finished vermicompost (and worms) to one-half of the vermicompost bin. There should be enough space, as the original bedding has reduced in volume.
- Fill the other half of the bin with half of the fresh bedding mixture. Place your next feeding in the fresh bedding. Continue rotating your feedings as usual on the fresh side of the bin.
- After 4-8 weeks, most of the worms will have migrated to the fresh bedding. Remove the finished vermicompost, and replace it with the remaining half of the fresh batch of bedding.
- Store the harvested vermicompost in a cool, dark place until you are ready to use it.
About Vermicompost Worms
Red wiggler worms (Eisenia foetida) are a species of earthworm specially adapted to the environment of decomposing organic material.
There are many common names for red wigglers, including redworms, trousers, brandling worms, or manure worms. They are recognizable by their alternating red and flesh-coloured pattern. Red wigglers are suited for vermicomposting because they are small, quickly consume large amounts of material, adapt well to captivity, and don’t mind being disturbed.
Red marsh worms (Lumbricus rubellus), which have a ruddy-brown or red-violet colour, are sometimes grouped with red wiggler worms for use in vermicomposting.
Nightcrawlers (Lumbricus terrestris) – the worms in your backyard in the early morning or after rain – are not well suited for vermicomposting, but they are great for your garden soil and backyard compost bin.
Worms do amazing work. In addition to decomposing vast amounts of organic waste, their tunnelling action allows oxygen, moisture, and nutrients to reach plant roots underground where it is needed.
Worm Reproduction
Red wiggler worms reproduce quickly. Once your vermicompost bin is established, you may notice brownish-yellow or brownish-red, lemon-shaped objects in the bedding, each about the size of the tip of a match – these are worm cocoons.
After 2-3 months, young worms become sexually mature. Mature worms are recognizable by the swollen band, called the clitellum, located near their front end. Two worms will join in opposite directions at the clitellum where mucus secretes, hardens, and then passes off the front end of the worm in the form of a cocoon. As the cocoon passes over the worm’s body, sperm and eggs are deposited to allow fertilization to happen inside the cocoon.
About 3 weeks later, 1-5 baby worms will emerge from the cocoon. Baby worms are thin, white, and less than an inch long. They will remain white until they produce enough blood pigment to appear red.
Although red wiggler worms reproduce quickly, you will not have an overpopulation problem in your bin. Worms will only reproduce under the proper conditions, and populations adapt to the amount of space and food available.
FACT: Red wiggler worms live for about 1 year in nature (but have been known to live up to 4 years in captivity).
Your Vermicompost Ecosystem
Your vermicompost bin will be home to more than just worms. Over time, your vermicompost system will become its own mini ecosystem as other living organisms – like bacteria, fungi, springtails, and mites – begin to populate the bin. These decomposer organisms are required to help turn your organic waste into nutrient-rich compost. Bacteria start the decomposition process by secreting a substance that softens organic waste, making it ready for worms to eat.